Zero to CI in Thirty Minutes Or Less (Or its free!)
One of the biggest complaints I hear from teams about CI is that it is too much work. While getting it perfect can be a lot of work, getting started couldn’t be easier.
I am going to demonstrate continuously building a C# project using Jenkins as our CI host.
To get started we’ll need a machine to be our build agent. I am going to create a VM in Azure to be my build agent. Since I am building a C# project, I am going to choose the template that already has Visual Studio 2017 installed on it. But this could be any machine. It could be an extra machine you have sitting under your desk or a virtual machine in your own datacenter.

Once the machine is created, you can connect to it and install Jenkins. Start by downloading and running the windows installer.
Once installed, a browser window will open that you can use to administer Jenkins. It may open before Jenkins has a chance to start, so you may need to refresh the page. Follow the instructions on the page to unlock Jenkins for first time use.
You will be prompted to install plugins. Plugins are the lifeblood of the Jenkins ecosystem and there are plugins to do pretty much everything. You can start by installing the suggested plugins.
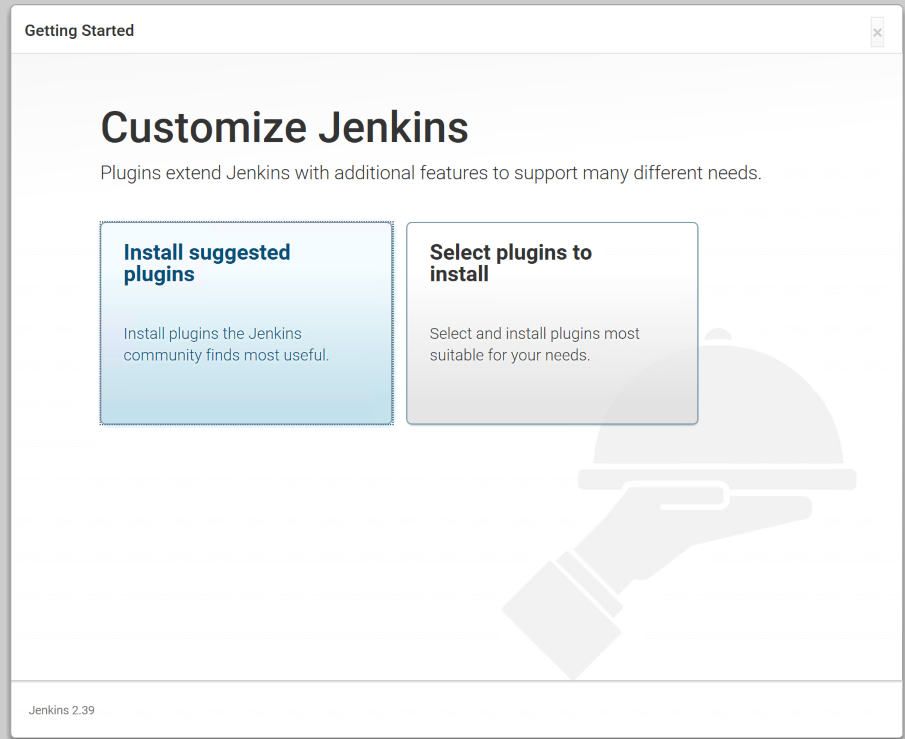
This will install a handful of plugins to get us started. Once complete, you will be asked to setup an admin user. Go through the steps of setting up the user and then you can start using Jenkins. At this point, Jenkins is ready to go.
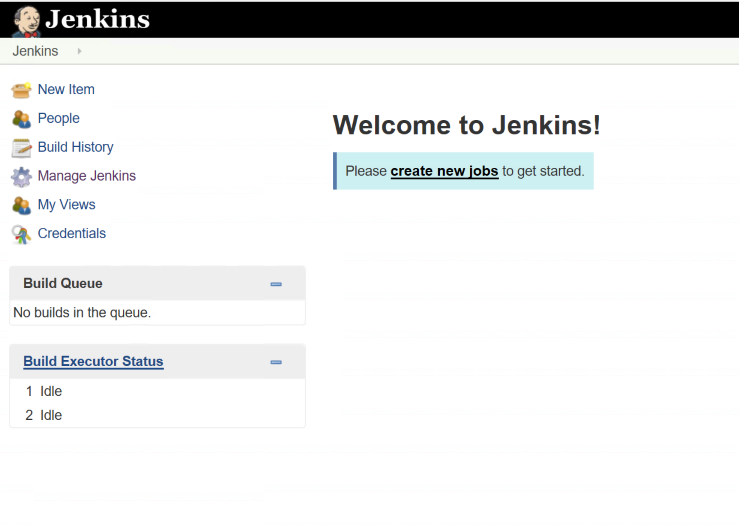
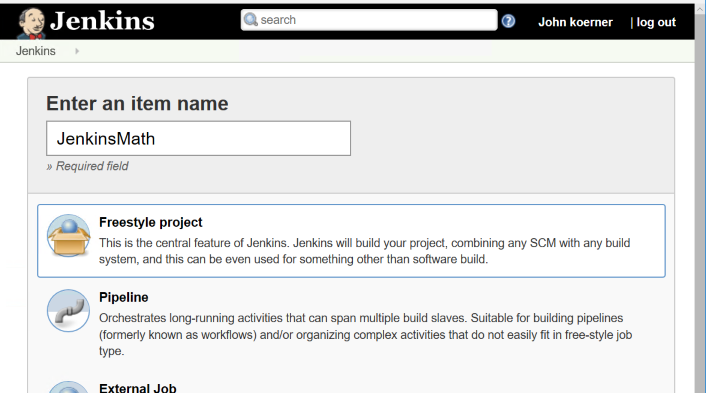
We are going to create a job to build a simple C# library I am hosting on GitHub to demonstrate Jenkins builds. Now we can create a new job and give it a name. The easiest project to configure in Jenkins is a freestyle project. This allows you to do any type of build you want by combining source control and scripts to accomplish your task (along with features from whatever plugins you have installed).
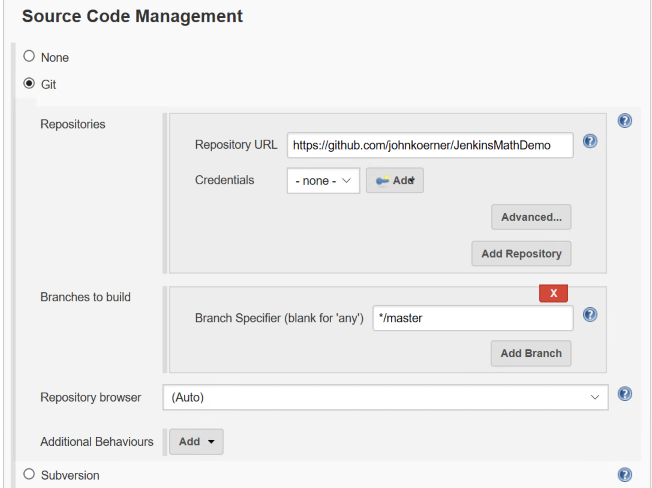
Next, we will configure the project to pull from GitHub and give it a little batch script to build the project and run the tests. In the Source Code Management section, we will select Git and enter our repository URL.
Then in the Build section, we will setup our script to build the project. Since this is a .Net core project and I have the 2017 core tools installed, I can simply specify a batch command with the following script:
dotnet restore
dotnet build
cd UnitTests
dotnet test
Save the job. Then click the Build Now button on the left hand side. This will start a job which will appear in the Build History portion of the page. You can click on the build number to get more information about the build. The most useful information in here is the console. If you click on the Console Output you can see the full console output of your build. Since this is your first build on the machine, you will see information about populating your local cache for the first time and then you should see the project build output, and finally you should see the tests run and see them all pass.
At this point, we have a build server that builds our project on demand, but not continuously. To set that up, we can go back to the project page and select the Configure option. We’ll use the Poll SCM option to configure the job to poll for changes from GitHub every 15 minutes. In the Schedule box, enter the following value
H/15 * * * *
The format for this schedule mainly follows the cron syntax. Clicking on the ? next to the schedule box will give you plenty of examples and information on how you might want to configure your job. Save the job and you are good to go.
You now have a build server that will build within 15 minutes of a change to the repository. Congratulations, you have a CI server. As you can see, getting started with CI is not hard and there is really no excuse for not having some sort of automations around your builds.
FAQ
Q:But John, why did you ignore webhooks?
A: While setting up webhooks is very straightforward, securing a Jenkins installation to be accessible via the internet is another thing altogether. I decided that using polling was a better approach than teaching people to setup an insecure Jenkins installation and having them get hacked. I’ll probably have a few more posts where I cover setting up webhooks for your Jenkins jobs.